
Exporting a React Component
1
Export the Component
Click on the ellipsis (three dots on the right of your deployed crew) and select the export option and save the file locally. We will be using 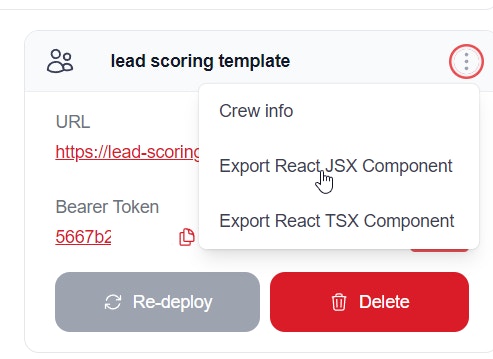
CrewLead.jsx for our example.Setting Up Your React Environment
To run this React component locally, you’ll need to set up a React development environment and integrate this component into a React project.1
Install Node.js
- Download and install Node.js from the official website: https://nodejs.org/
- Choose the LTS (Long Term Support) version for stability.
2
Create a new React project
- Open Command Prompt or PowerShell
- Navigate to the directory where you want to create your project
-
Run the following command to create a new React project:
-
Change into the project directory:
3
Install necessary dependencies
4
Create the CrewLead component
- Move the downloaded file
CrewLead.jsxinto thesrcfolder of your project,
5
Modify your App.js to use the CrewLead component
- Open
src/App.js - Replace its contents with something like this:
- Replace
YOUR_API_BASE_URLandYOUR_BEARER_TOKENwith the actual values for your API.
6
Start the development server
-
In your project directory, run:
- This will start the development server, and your default web browser should open automatically to http://localhost:3000, where you’ll see your React app running.
Customization
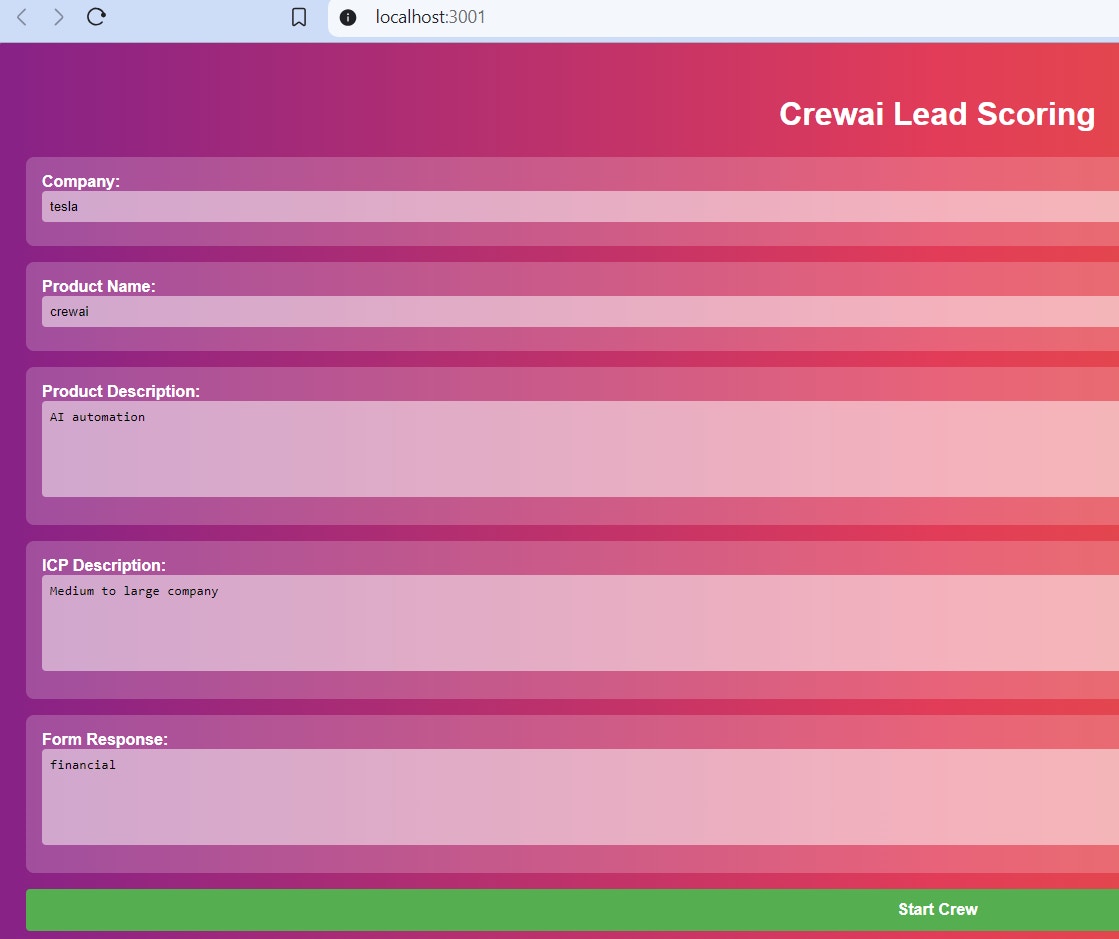
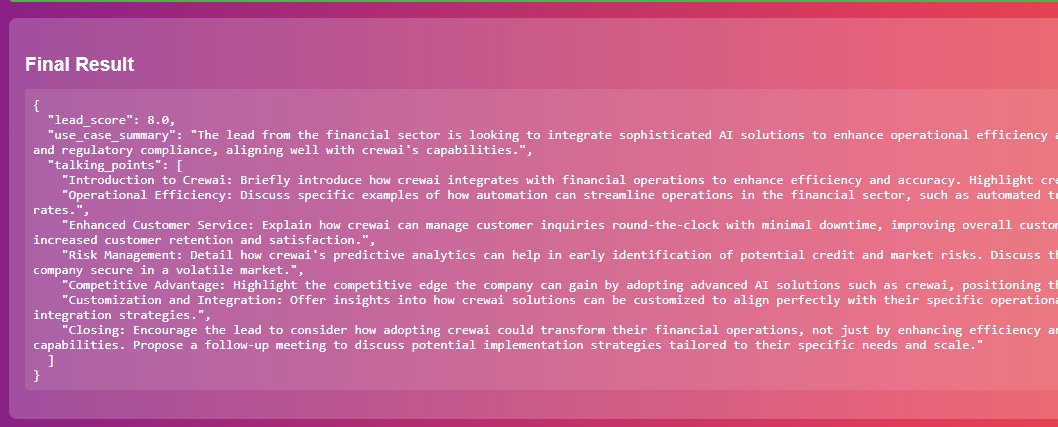
You can then customise theCrewLead.jsx to add color, title etc
Next Steps
- Customize the component styling to match your application’s design
- Add additional props for configuration
- Integrate with your application’s state management
- Add error handling and loading states